


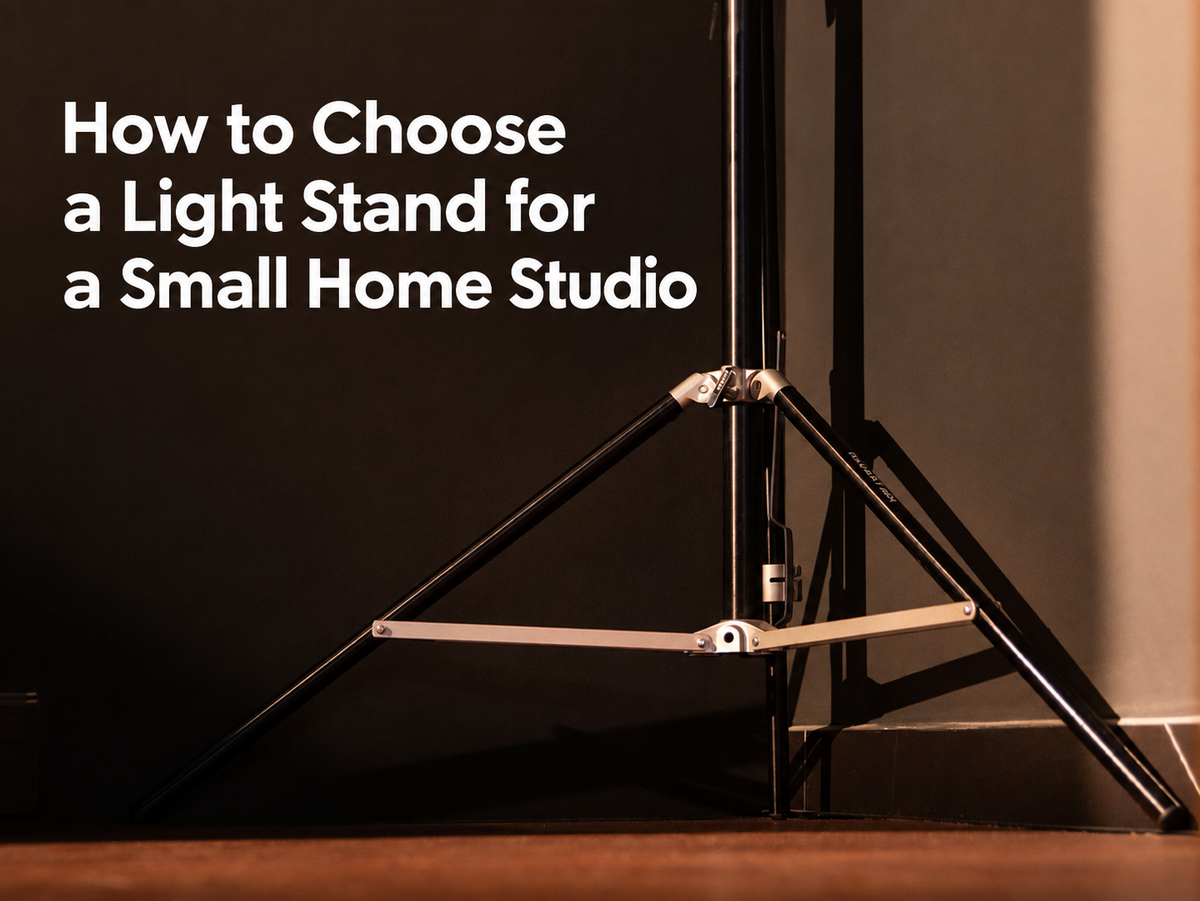
Choose a light stand that fits your floor space, carries your full lighting setup, reaches the right height, and stores easily. In a small home studio, the stand affects light placement, camera angles, walking space, and how quickly you can reset the room after filming.

What Does Your Home Studio Lighting Setup Need?
Your setup needs a stand that suits your room and the content you shoot most often. Measure the open area around your desk, camera, backdrop, or product table. Include room for fully opened legs, power cables, and your normal walking path.
A seated talking head video often uses a key light slightly above eye level and off to one side. Product photography often needs a lower position beside a table. Full-body video needs more height and a clear area around the subject.
Think about the shots you film most often before choosing a light stand. A desk setup needs a different footprint from standing tutorials, portraits, or ecommerce product shoots. Choose a stand that fits your usual setup and leaves enough room to move around.

Match the Stand to Your Light and Modifier Weight
Your stand needs to carry every item mounted above the center column. Add the weight of the light, bracket, battery or power adapter, softbox, grid, reflector, and other accessories before checking the stand’s rated capacity.
Weight is only one part of the decision. A wide softbox places force farther from the center column than a small LED panel. A light raised near the top of its working range also needs more attention than the same light at a lower position.
Check these points before choosing a photography light stand:
- Total weight of the complete lighting setup
- Rated load capacity of the stand
- Size and shape of the modifier
- Height used during filming
- Mount type on the light and accessories
Leave enough capacity for accessories you may add later, such as a grid, battery plate, or larger modifier. Our LT30 Regular Version offers heavy-duty stability and 1/4 inch plus 3/8 inch compatibility for common lights, adapters, and accessories.

Choose a Base That Works Around Desks and in Corners
A small studio needs a base that fits around furniture and keeps the middle of the room open. Check the area near walls, desk legs, storage units, and backdrops before choosing a stand. A stand’s leg spread matters as much as its maximum height in a tight room.
Corner placement can work well for fill lights, hair lights, background lights, and side key lights. Keep the base level and fully opened, then aim the fixture toward the shooting area. Leave your main walking route clear and keep the stand outside the camera frame.
Place a light near a wall when you need open floor space for a camera, or a desk chair. Our LT30 Corner Version features a corner leg and level design for space-saving placement near walls and room edges. That layout works well for fill lights, hair lights, background lights, and side key lights in compact rooms.
Its air-cushioned 10-foot reach gives you room to raise a light above a seated subject, standing presenter, or backdrop while keeping more of the room available for filming. Check that all feet are level, the fixture is balanced, and the cable runs outside your usual path.

Keep Your Lighting Stable in a Limited Space
A stable light stand needs a flat floor, fully opened legs, secure locks, and a balanced load. Keep the heaviest part of the fixture close to the center column whenever possible. Check every height lock before recording.
Professional production safety standards treat routine inspection of load-supporting systems as a core practice. Routine equipment inspection practices offer a useful reminder to inspect the stand, clamps, and mounting hardware before raising a light or adding a larger modifier.
Large softboxes, reflectors, and off-center accessories need extra care. Add a suitable sandbag at the base when the light sits high, the modifier sits far from the center column, or the setup carries extra weight on one side.
Use the same safety check before each shoot:
- Open the legs fully.
- Check that all three feet touch the floor.
- Tighten each height lock.
- Check the light and modifier angle.
- Add base weight when the setup calls for it.
- Route cables away from foot traffic.
Keep power cables outside walking paths and check cords for visible wear before each session. Extension cord safety practices support keeping cords away from foot traffic and removing damaged cords from use. Keep doors, fans, and air vents in mind too, since air movement can affect a large softbox or reflector during indoor shoots.
Choose a Space-Saving Light Stand for Your Home Studio
Choose a space-saving light stand according to your room layout and your regular shooting setup. The best option gives you the height, mount compatibility, and base shape your studio needs while keeping useful floor space available.
Choose the LT30 Regular Version for flexible height adjustment across seated videos, product work, and higher key light positions. Choose the LT30 Corner Version for corner placement near walls, desks, and smaller studio layouts.
Check the LT30 light stand options against your room size, full lighting load, and the kinds of shots you film most often.

FAQs
Q1: What Is an Air-Cushioned Light Stand?
An air-cushioned light stand slows the center column as it lowers, reducing sudden drops during height adjustment and adding protection for mounted lights. Support the light by hand and loosen each lock carefully.
Q2: What Light Stand Footprint Works Best in a Small Room?
The best footprint leaves enough clear space for you to sit, stand, move the camera, and access nearby furniture. Test the spot with removable tape before buying a stand: mark the leg area, place your chair or tripod nearby, and record a short test clip. The test can reveal blocked walkways or legs visible in frame.
Q3: How Many Light Stands Does a Small Home Studio Need?
One stand can support a simple key light setup. Two stands let you place separate key and fill lights. Three stands can support key, fill, and background lighting. Add another stand when a lighting role becomes part of your regular workflow, rather than filling the room with unused gear.
Q4: Can a Light Stand Support a Battery-Powered LED Light With a Small Softbox?
Yes, a light stand can support a battery powered LED light with a small softbox when the full setup stays within the rated capacity. Check where the battery sits before mounting it. A battery mounted high on the fixture changes the balance differently from a battery secured lower on the stand or cable.
Q5: Can One Light Stand Be Used for Key and Background Lighting?
Yes, one light stand can serve key and background lighting across separate shoots. One stand holds one fixture at a time unless you add a purpose-built accessory designed for multiple lights. Keep notes for each setup, including stand height, light angle, and floor position, so you can switch roles quickly.
Share:
IBC Show 2026 – Amsterdam
How to Stop Camera Shake When Shooting Video: Choosing a Stable Video Tripod