


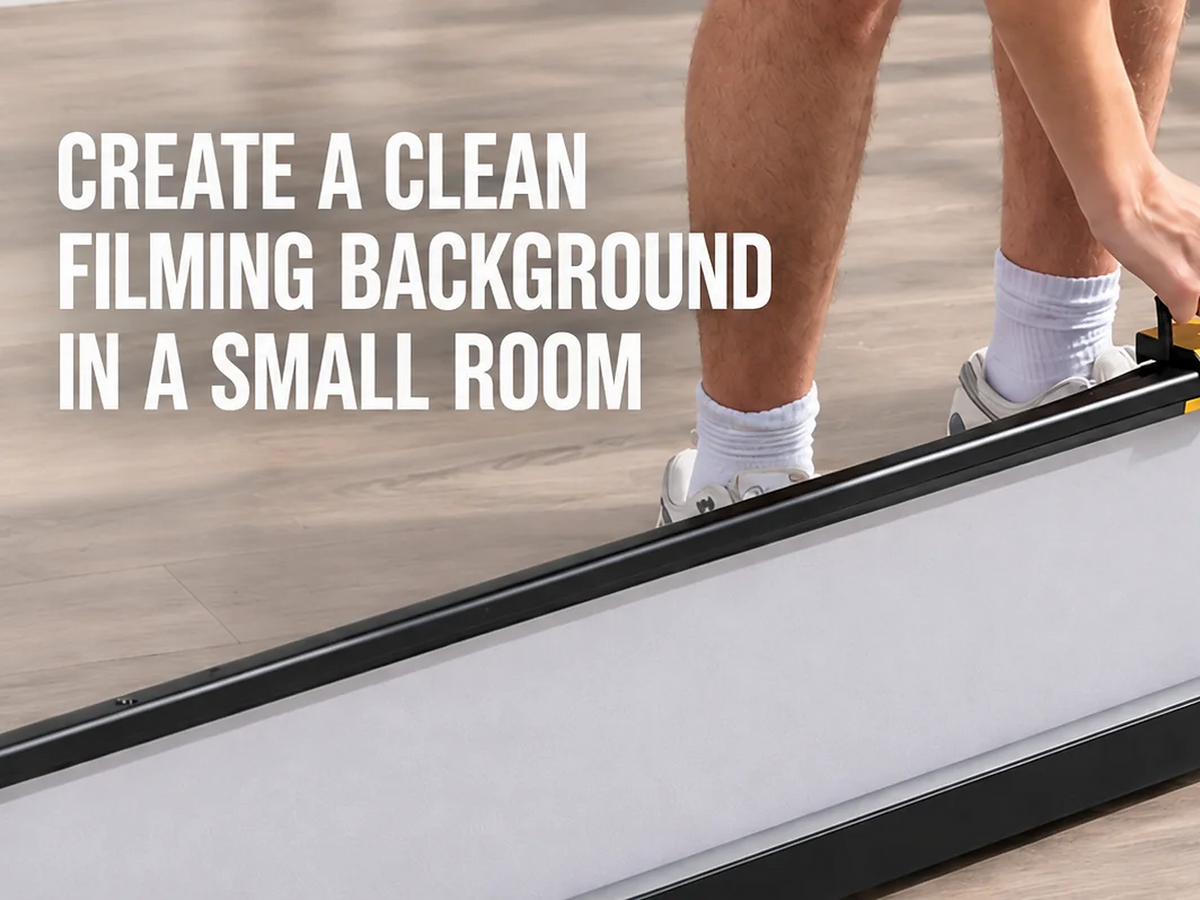
Use a white photography backdrop that fully covers your frame, place yourself forward from the screen, and light the space evenly. A compact room can support clean, repeatable video when the backdrop, camera, and lights each have a fixed place.

How Much Background Coverage Does One Person Need on Camera?
For one person, choose a backdrop size based on your video format, body framing, and editing needs. Measure the visible area required in the final shot before selecting a screen.
Plan Coverage for Vertical Video
Vertical video needs generous height. For seated talking head content, allow space above your head and around your shoulders. For standing or full body videos, allow room above your head, below your feet, and around raised hands.
Fitness, fashion, tutorials, and demonstrations often need more height because your body moves through a larger part of the frame.
Allow Extra Width for Horizontal Video
Horizontal video needs more width on both sides of your body. Plan room for natural hand gestures, a chair, a desk edge, a microphone arm, or a product held beside you.
Use wider coverage for interviews, product demonstrations, and seated tutorials. A narrow backdrop can expose room edges when you move or shift your position.
Leave Space for Cropping and Reframing
Leave extra white space around the original frame if you plan to create Shorts, Reels, thumbnails, or social clips from a longer video. Cropping reduces the visible background area and can reveal room edges.
Check a test frame in your editing software before choosing a backdrop size. Select a screen that still covers the frame after your tightest planned crop.
Choose a White Photography Backdrop That Opens Quickly in a Small Room
Choose a white photography backdrop with a smooth surface, quick setup, and compact storage size. Focus on features that affect daily filming:
- Select a smooth screen surface if you film close to the backdrop or use side lighting.
- Match screen height and width to your usual seated, standing, or full body framing.
- Use a stable support system if you record in the same area several times each week.
- Check closed dimensions if the backdrop needs to fit inside a closet, beside a cabinet, or under a bed.
For a fixed filming corner, both the 6.7’ x 7.2’ Pull Down White Screen and the 6.7’ x 7.2’ Motorized Pull Down White Screen provide a space-saving white filming background. Each is available in standard and wider sizes and can be mounted on a wall or hung in place.
The manual pull down screen is ready to use as soon as you pull it down; after filming, give it a small tug and it retracts slowly back into its housing for storage. The motorized uses motorized raising and lowering, which can be more suitable when you prefer electric operation.
For filming that moves between rooms or travels with your gear, use a portable collapsible screen that opens quickly when needed and stores away after use. The 5’ x 6.9’ Collapsible White Screen provides standard coverage, while the 6.6’ x 6.9’ Collapsible White Screen provides a wider option. Both support routine seated or standing framing, as well as headshots and portrait-style filming.
For full-body filming, choose the Collapsible White Screen - FloorFlex™. Its vertical backdrop and integrated floor screen help cover both the background and the area beneath the subject when the frame includes the full body.

Set Up the Screen, Camera, and Subject for Full Background Coverage
Place the screen, camera, and subject in positions that keep the selected backdrop fully inside the frame. Use the following setup order after choosing the right screen size.
- Open the backdrop in a clear area with enough wall height and floor depth. Keep the screen level and smooth.
- Stand forward from the backdrop. Subject separation reduces cast shadows and leaves room for lighting.
- Set the camera at eye level for talking head videos. For standing videos, place the lens around upper chest height, then adjust after checking the composition.
- Check every edge of the camera frame. Remove visible furniture, door frames, wall corners, cables, light stands, and ceiling lines.
- Record a short movement test. Raise your hands, turn, sit down, stand up, and hold any product you plan to show.
Save a reference photo once the setup looks right. Use the same screen position, camera distance, and floor mark during later filming sessions.

How Do You Avoid Glare and Shadows on a White Backdrop?
Use the right screen material, separate the subject from the screen, and control face light and backdrop light independently.
- Choose a smooth white surface: A smooth backdrop helps keep the background visually simple. Check the surface through your camera, especially when you use side lighting or record close to the screen.
- Keep space behind you: Stand forward from the backdrop so your body casts fewer shadows onto the white surface. Leave enough room for lights to reach both you and the screen.
- Light your face first: Place a softbox, diffuser, or bounced light slightly above eye level and off to one side. Set camera exposure for your face before changing backdrop brightness.
- Light the backdrop evenly: Add light to the backdrop only if it appears gray on camera. Position backdrop lights at similar angles on both sides for even coverage.
- Correct hotspots: Move backdrop lights farther outward or add diffusion if bright patches appear. Keep mirrors, glossy tables, direct window light, and shiny metal objects outside the backdrop area. Careful subject placement and lighting are core parts of professional photography work, as noted in the OPM photography guidance.
Our backdrop systems offer compact screen options for creators who film in smaller rooms. Review the available size, color, and storage details on the product page for your market, then check the camera display and adjust light placement until the white area looks even across the frame.

Move and Store Your Background When the Room Has Other Uses
Choose a backdrop with built-in storage and a fast-closing design so your room can return to daily use after filming. Compact backdrop systems work especially well in bedrooms, home offices, and shared living spaces.
- Retract the screen after filming: A pull-down backdrop rolls back into its protective case, keeping the fabric covered and the floor area open.
- Use one-person setup gear: A fast-opening screen reduces the need for separate frames, poles, and loose support parts. You can open the backdrop for a recording session, then close it after the final take.
- Store collapsible screens in narrow spaces: A collapsible backdrop can fit behind a door, beside a cabinet, or under a bed. Its compact form works well for temporary filming areas.
- Keep support gear together: Store light stands along a wall or inside a closet. Keep batteries, clamps, adapters, and cables in one labeled pouch or storage bin.
- Leave the filming area clear: Use a shelf, rolling cart, or small storage cabinet for camera accessories. A clear floor gives you room to set up again without moving household items.
Choose a White Photography Backdrop for Your Next Shoot
Once you have tested your final camera frame, choose a backdrop that fits your filming style and the way you use the room. A fixed filming corner may suit a pull-down screen, while a setup that needs to move or store away may suit a collapsible option. Check the size, color, and storage details before filming, then make one short test clip to confirm full coverage, even lighting, and clean frame edges.

FAQs
Q1: What Size White Photography Backdrop Should I Choose?
Choose the backdrop size according to the number of people in frame, your usual framing, and how much movement the video includes. A standard collapsible screen measures 59.8 x 82.7 inches and is usually suitable for one person in seated, headshot, or compact standing videos. A wider collapsible screen measures 78.7 x 82.7 inches and gives one person more room for movement or provides more practical coverage for two people. For a fixed pull-down setup, the standard option measures 59.8 x 86.6 inches and the wider option measures 78.7 x 86.6 inches. Check the visible width in your final camera frame before choosing, especially if you plan to crop the footage later.
Q2: What Clothing Colors Work Best With a White Photography Backdrop?
Deep midtone colors usually create clear separation from a white backdrop for photography. Navy, burgundy, forest green, charcoal, cobalt, rust, and dark purple work well for most video formats. White outfits can also work when fabric texture, a colored layer, or contrasting accessories create a visible outline around your body.
Q3: How Do Wrinkles Affect a White Photography Backdrop on Camera?
Wrinkles can appear as uneven gray lines, especially in close shots, high-resolution video, or footage with side lighting. Fine texture may look minor from across the room but become visible after cropping or sharpening. Check the backdrop through your camera at your final recording distance before filming.
RAUBAY backdrops use Premium Fabric that is free from wrinkles and defects, helping the white surface appear smoother on camera. The anti-glare finish also helps reduce distracting reflections when you use controlled lighting.
Q4: Can a White Photography Backdrop Work for Product Videos?
Yes. A white backdrop can keep a product video clean and easy to read when the product has enough edge contrast against the background. Use side or front fill light to define dark products, and add a small surface, stand, or shadow only when it helps viewers understand the product shape.

Share:
IBC Show 2026 – Amsterdam
How to Create Low-Cost AI Backgrounds With a Collapsible Green Screen